CellShield Masks Sensitive Data in Your Excel Spreadsheets [video]
This is the second in a four-part series to introduce IRI CellShield. An overview is found here. The other parts demonstrate how to use more functions in CellShield like encryption and pseudonymization. If you’re interested in finding, classifying, or masking PII in databases or flat files, check out IRI FieldShield. For semi-structured and unstructured text, document, or image files, see IRI DarkShield.
IRI CellShield is seamless security software for masking PII in spreadsheets. CellShield comes as either an inexpensive Excel Personal Edition (PE), or in an Enterprise Edition (EE) for LAN-wide PII discovery, bulk remediation, and auditing. Both versions perform full or partial redaction, encryption (including format-preserving) and decryption, and pseudonymization:
Simply select the range of cells you want to protect, and then click the type of protection you need.
An easy-to-use interface guides you through the steps, and CellShield does the work for you. It also provides decryption and pseudonym restoration.
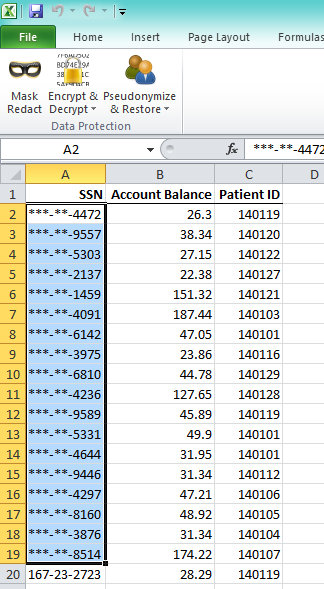
Below is a step-by-step example using CellShield’s ‘Mask Redact’ feature to mask social security numbers in an Excel spreadsheet. (Note: All information used in this example is fictional.)
1. Open the Excel spreadsheet containing the data you want CellShield to protect.
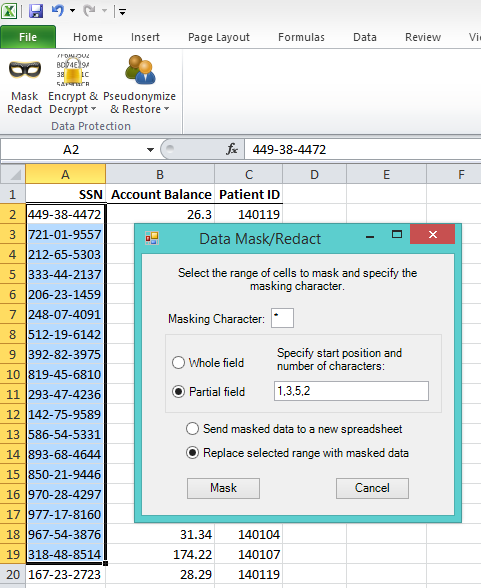
2. Select the range of cells to protect.
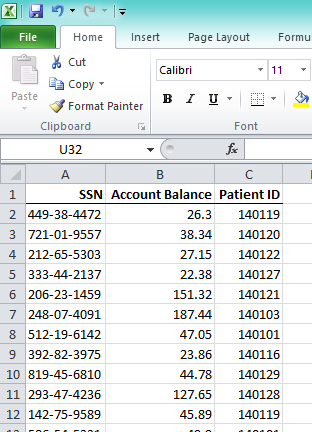
3. Click the CellShield tab on the Excel ribbon.
4. Select the protection option you want to use from the buttons on the CellShield menu. In this case, select ‘Mask Redact’.
5. Fill in all required information on the user form that pops up from your selection. UPDATE: As of CellShield version 2.0, all UTF-8 characters are supported as a masking character. Previously only ASCII characters were supported.
6. Click the button to perform the desired action (in this example, ‘Mask’), and see the results in the chosen location (either into a new spreadsheet or back within the selected range – be careful here).