Connecting Databricks Delta Tables
Abstract: This article covers the necessary JDBC and ODBC connectivity steps to reach Azure Databricks Delta tables from IRI Workbench and the CoSort SortCL engine used in structured data management operations in the Voracity platform ecosystem, especially IRI FieldShield data classification and masking jobs.
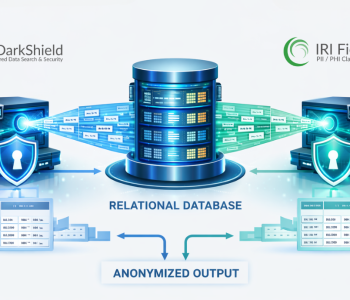
Azure Databricks uses a “lakehouse” architecture, which means it supports both structured and unstructured sources. 1
At the time of writing, Microsoft has made the creation of a new Databricks to support Unity Catalog by default. This forces a three-tiered system: Catalog, Schema, Table. SortCL-driven jobs (like FieldShield for data masking) in the IRI Workbench GUI now support both Unity Catalog and legacy environments that don’t use catalogs.
Delta tables support ETL processes that use SQL commands. And because Azure supplies both JDBC and ODBC drivers, once these connections are made in IRI Workbench, IRI Voracity data management platform tools can use the commands and drivers to manipulate data in the delta tables in data discovery, integration, migration, governance, and analytic operations..
Note that there is also a YouTube tutorial here for those who prefer visual, step-by-step instructions to the connection requirements documented below.
JDBC Setup
The JDBC driver is required to enumerate and search tables from the IRI Workbench GUI for FieldShield, built on Eclipse. A future release of the IRI DarkShield data masking will also support Databricks delta tables through this driver.
Once the JDBC driver is downloaded from the links provided above, the next step is to get the following properties:
- JDBC URL
- HTTP path
- Server Hostname
- OAuth URL
- Access Token
These properties can be found in the Databricks portal under SQL Warehouses. Select the SQL Warehouse to use and go to the Connection details tab.
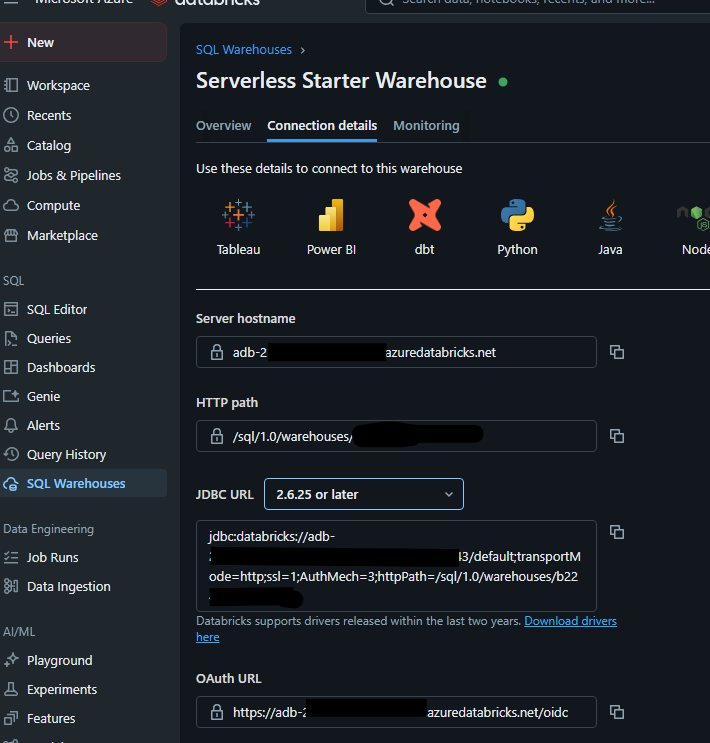
The image above shows the Databricks UI and where to find the JDBC properties to establish a connection. Note that the version of the JDBC driver downloaded dictates the JDBC URL format.
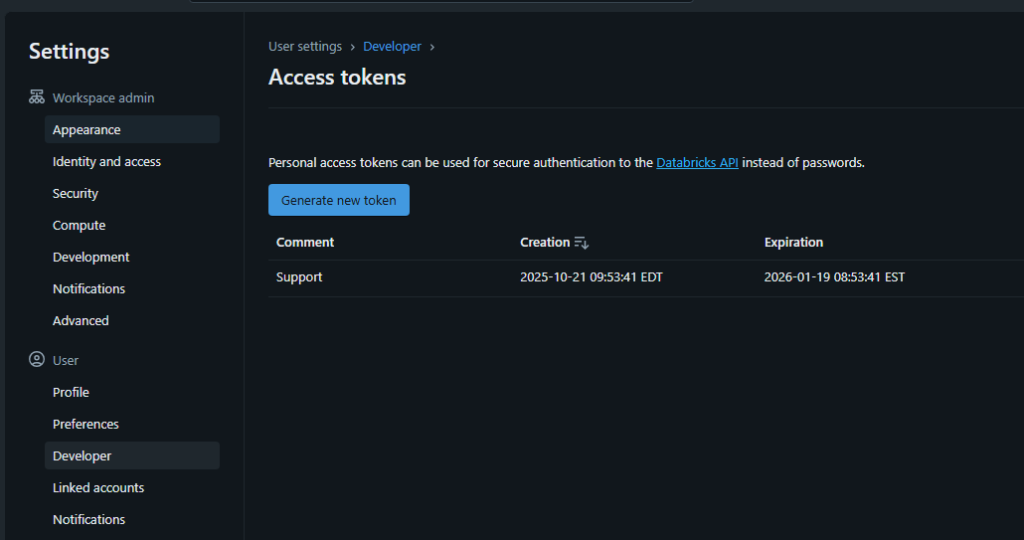
On the same page, in the top right-hand corner, there is an option to create an access token. This token will act like a password for users to log in. This example uses an access token.
Inside IRI Workbench
Now that all the properties have been obtained and the driver has been downloaded, the focus will shift to Workbench to set up the JDBC connection.
In the Data Source Explorer tab, select the new connection profile icon and select the Azure Databricks profile. (Image below for more context).
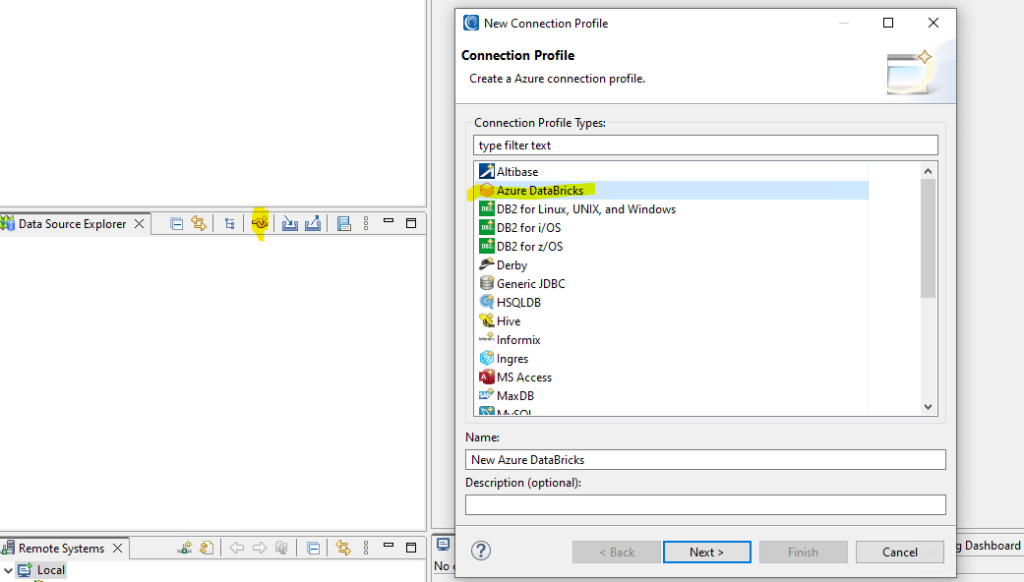
Give the connection a name that provides the user with context about the environment or data Databricks is hosting. Once a name is given, select next, and you will see the following page.

On the page above, select the wheel icon in the top-right corner to create a new driver definition. A new pop-up window will appear, as shown in the image below.
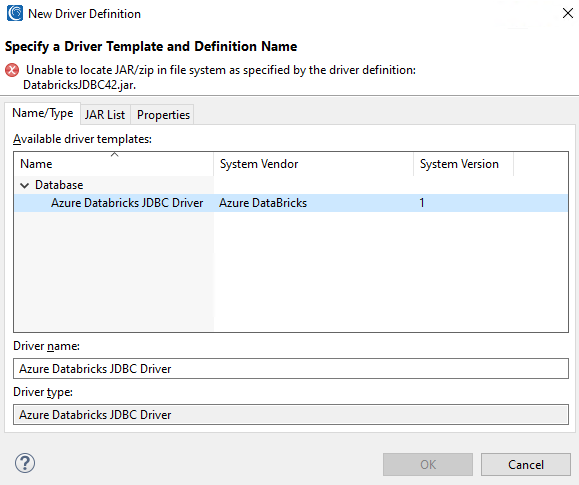
This dialog is where key JDBC configuration settings, including the JDBC driver path, are set.
Select the only available driver template in the middle of the screen, then click the JAR List tab.
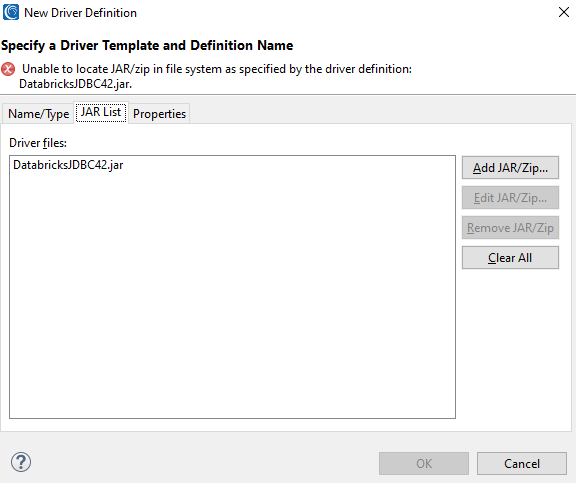
Select the Jar and then select the Edit JAR/ZIP… to open the file browser and select the JDBC jar file needed for Azure Databricks. After selecting the correct jar file, it will appear here; e.g.:

Next, click on the Properties tab and paste the JDBC URL:

Click OK at the bottom of the Provide Driver Details tab, and the pop-up window will return to the original setup page.
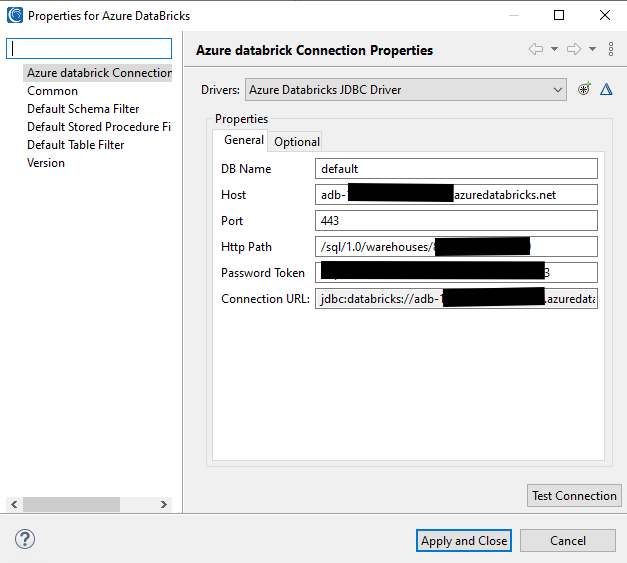
Specify all the properties in their respective text boxes. Leave the DB Name as default and click Test Connection to verify that Workbench can connect to the Databricks source.
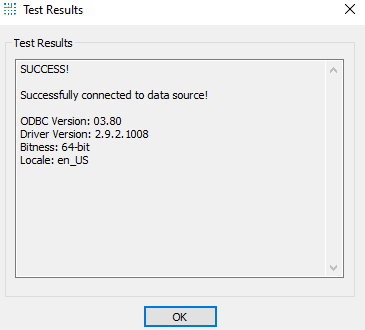
If everything works, this pop-up window will appear:
ODBC Setup
An ODBC connection is required by the back-end CoSort SortCL engine powering FieldShield to read data from the delta tables, mask it externally, and write the masked data back to the user’s desired target (tables, files, or other RDB platforms).
To set up the ODBC connection, run the ODBC installer downloaded from the Databricks site. Once the installer is finished, open the Windows search bar and type ODBC Data Source Administrator (64-bit).
The following application dialog will open:
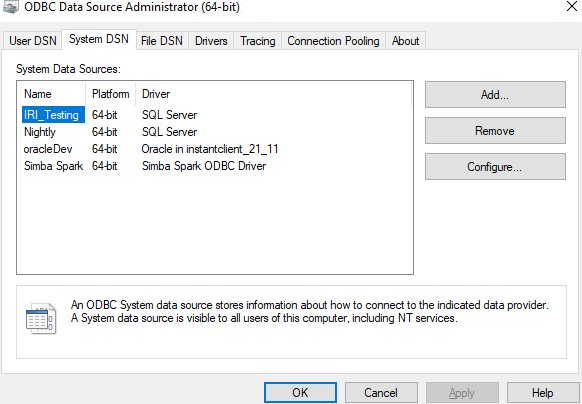
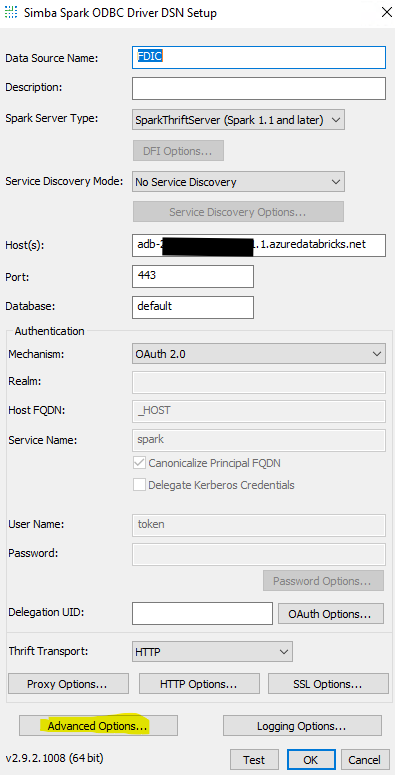
On the right-hand side of the window, select the Add… button and look for the Simba Spark ODBC Driver and select finish. This is the driver that will be used in order to create a connection to the Databricks source.
A new pop-up window will appear to configure the ODBC connections with all the properties that were also used in the JDBC connection portion of this blog.
Apply a data source name to the connection and do the following:
- Host(s) relate to the server hostname.
- Port – default is 443
- Authentication set to OAuth 2.0
- Thrift Transport set to HTTP
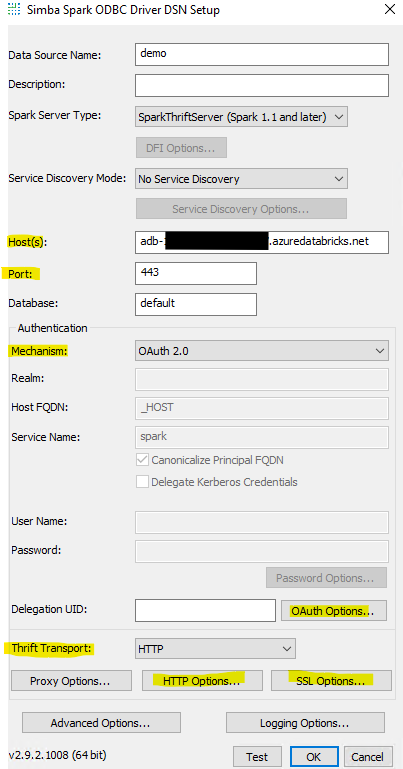
Select the OAuth Options… button to paste the access token. Click OK when done.
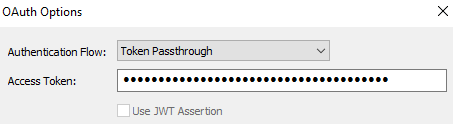
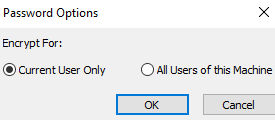
At the bottom of the page, select the Client Secret Encryption Options… This allows you to save the access token while encrypting it to keep it safe.
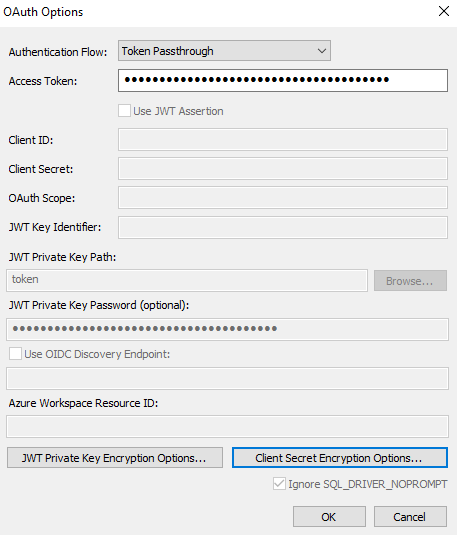
There are two options: Current User Only (accessible only to the specific user) and All Users of this Machine (accessible to everyone).
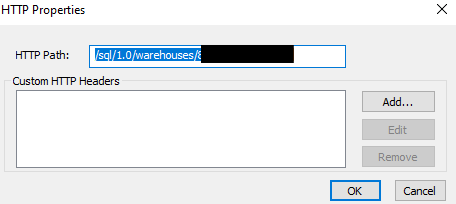
At the bottom, select the HTTP Options… to paste the HTTP path. Click OK when done.
At the time of this writing, to support the Unity Catalog catalog option, a server-side property must be hard-coded to a specific catalog. This means that each catalog needs its own ODBC connection.
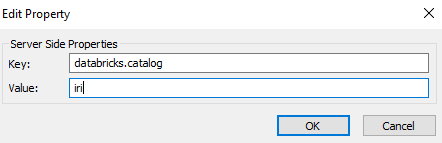
To set this property, select Advanced options, Server Side Properties, and then Add …
Here, the key is always databricks.catalog, and the value is the name of the catalog you want to connect to. Click OK until you are back to the main configuration page.
Finally, select the SSL Options button and make sure that Enable SSL is selected.
Once all that is done, select the Test button at the bottom of the Simba Spark ODBC Driver Setup page to ensure that the ODBC connection is set up correctly.
Inside IRI Workbench
Now that both JDBC and ODBC connections have been created, the next step is to ensure they are linked.
To do that, in Workbench, go to IRI Preferences and then select the twisty next to IRI to see more options.

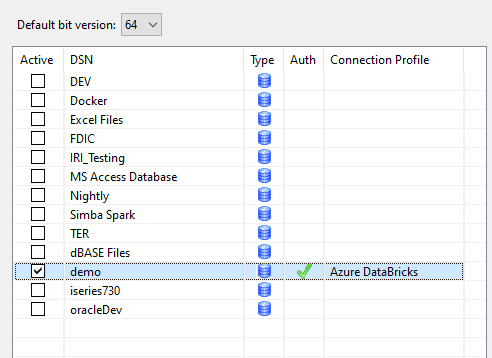
Select the twisty on Connection Registry and then select Database Connection. Verify the bit version is set to 64 and click Refresh to see all the ODBC connections available:

Select the ODBC connection that was just created and then click Edit. This window opens:
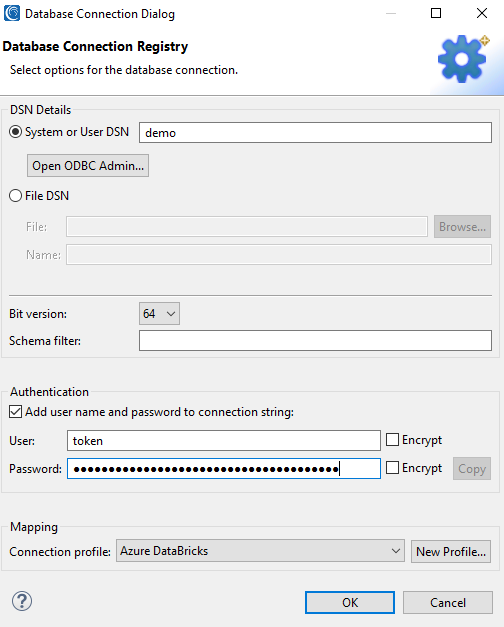
At the top of the page, you will see the name of the ODBC connection. Moving further down, make sure 64-bit is selected, and that Add user name and password is selected.
Next to User, specify ‘token’ and identify the password as the access token. Select the encrypt button next to both properties so that the access token will not appear as clear text in any SortCL (FieldShield data masking) job scripts.
Finally, at the bottom of the page, select the drop-down menu and choose the JDBC connection created earlier to map the two connections.
Click OK and make sure that the mapping is “Active” as shown below:
Now Databricks is set up and ready for use with FieldShield and the rest of the SortCL-driven applications in the IRI Voracity ecosystem:

If you are interested specifically in masking data in the delta tables, you can learn how to define data classes, search methods, and RDB masking jobs in this FieldShield how-to summary article: https://www.iri.com/blog/data-protection/how-to-mask-pii-in-a-database/
If you have any questions or need support, don’t hesitate to get in touch with support@iri.com.
- Because the IRI FieldShield data masking tool only supports structured sources, the main focus of this article will be on Databricks Delta Tables.